Showing posts with label DIY. Show all posts

Thrifty Thursday

I just wanted to share a little project that I completed recently.
I got this coffee table at my local thrift store. I loved the lines of it, and thought it had great potential. The finish HAD to go though...
I topped it with a quick coat of primer, and followed up with a couple coats of "oops" paint that I found at the Home Depot. I sanded it a little, for a distressed look.
Then finished the whole thing off with a couple coats of poly. I LOVED the original hardware, so I just gave it a quick coat of black spray paint...
What do you think...do you like how it turned out? If you're in Arizona and are interested in purchasing this table, leave a comment and I can work out a GREAT deal for you!!

A Very Hungry Birthday!

Saturday was my son's second birthday party and he had a blast!  I must admit throwing a party while 36 weeks pregnant wore me right out!  Even though we just invited family, my husband and I have very large families, so there were quite a bit of people there.  We pretty much DIY'd everything and it all turned out great!

For the food we ate the same things the caterpillar did in the book, sausages (lil' smokies), a leaf (spinach salad), strawberries, watermelon, apples, swiss cheese, salami, and pickles.  Sounds kind of like a weird combo, but it was really good.  We had lemon water also.


I used Photoshop to make up food cards.


My husband and I tag teamed the cake.  He is the artistic one, so he did all the sculpting and the fondant.  One of his co-workers made the fondant for another cake and gave us her extra, super nice!  I made home made funfetti cupcakes using this recipe.  SO GOOD.
I used my Grandma's home made butter cream frosting recipe for the icing, I think it turned out cute!
 A friend had given me a caterpillar cupcake stand, he was fun!
A few months back at Target they were clearancing out Very Hungry Caterpillar plates, napkins, and cups, I think they were like $.50-$.75 per pack, score!

I made a fun banner using my Silhouette.
 We made a balloon caterpillar, all the kids got a kick out of it!
 We made fringey streamers for decor, cheap and cute! I also used this fun washi tape to hang them.


As the kids arrived we had them color a large caterpillar mural.  My husband printed it off at work, and we used washable crayons of course!  Here is the before.....
 And the after....
We had everyone make caterpillar bookmarks.  I got the idea from this cute blog.


I was trying to think of 2 year old friendly games to play and came up with this "Feed The Very Hungry Caterpillar" game.  We bought a giant poster board and used our projector to draw the images onto it.  We colored it in with markers.  I used some of our play food that he ate in the book to "feed him".  My son LOVED it, and so did the other kids.

For the favors I was out of ideas, when I saw this cute idea on Pinterest for Butterfly snack packs. (My Pinterest link doesn't have the original source, sorry!)  My son's favorite treat is Marshmallows, I thought the fruit ones would be nice and colorful and had forgot how yummy they are!  I also did Goldfish crackers for the younger kids.  I paired them up with some Very Hungry Caterpillar stickers that were also on clearance at Target.
Though I was absolutely exhausted by the end, it was worth it.  My cute boy has been saying "Happy Birthday Party" ever since!

A Very Hungry Birthday!---Invitations

Hi, remember me, SueAnn, yes I am still alive!  I know I haven't posted in ages, but this pregnancy has been really rough on me.  Just 4 short weeks and she'll be here, I can't believe it!  I do have lots of projects for my husband to do and me to post, HA!

Tomorrow is my son's SECOND birthday.  I really cannot believe he is 2!  Since I knew I would be throwing his party so pregnant, I have done a little at a time, during naps and at night (before 10pm), and I think it is going to turn out cute!  I think this party has been easier to plan than the last, maybe because I did break it up so much, instead of doing a ton at the end.  It was low cost too!

One of his favorite books currently is The Very Hungry Caterpillar, so I thought that would be the perfect theme.  A friend of mine threw her son's first birthday 6 months ago and also did The Very Hungry Caterpillar theme.  The invitations she did we so cute, I asked if she would mind if I stole her idea!  She gave me the go ahead and told me she had originally seen the idea at Pottery Barn.

The invitations are small Mason jars, with a caterpillar and a leaf inside.  I did multi colored paper on the tops and wrote the kids names.  I mainly just invited family, since I knew I would be too tired to invite too many people.


I wanted to type up the invites on the leaves, but they ended up being too small, so I hand wrote them.  On one side I wrote "You're Invited...", then wrote all the details on the other side.  I used my Silhouette to cut the leaves and the eyes of the caterpillar.  They were really quick to put together, a dozen only took me about an hour.  I just hot glued the pom poms together and then threw everything into the jar.  Each invitation cost less than $1.00.  My son's cousins thought they were great and have loved playing with the caterpillar.  My son isn't the most gentle, he ripped the eyes off of his. :)

The party is this Saturday, I am super excited, I think he will just love it!  I will post all the details next week, stay tuned!

Show Your Personality By Customizing Your Bible Cover

 You want to look your Sunday best when you attend church, but your Bible has seen better days. Passed down from generation to generation in your family, the cover has begun to show a bit of a weathered look to it. The edges have creased and the leather has begun to crack and fade.

Since the Bible is a family heirloom, you don't want to replace it with a new one, but you also want to protect it so that future generations of your family can use it. You're stumped on what to do.

Why not use a Bible cover?
Bible covers are great to keep your religious text clean and dry. Many religious stores carry them, or you can find a used Bible cover at a yard sale or a church donation event. If you can’t find any in stores, you can purchase Bible covers online by doing a simple search.

A Bible cover can be as simple as a plain book jacket or a nicer carrying tote. Whatever look you decide, you can give the cover a bit of your personality by decorating or writing down your favorite verses on the cover. You can even make it an entertaining craft project for the entire family.

Clean Your Bible Cover Before Decorating
The surface of the Bible cover should be clean before placing on any decorations. For leather Bible covers, use a dry cloth to wipe away any dust. If the cover is dirty, lightly moisten the cloth to clean the dirt away, then immediately dry off the leather so wet spots don't form. Even if you'll be covering over the entire leather with decorations, it's still a good idea to work on a clean surface so dirt doesn't accidently get on your decorations.

For an ordinary paper cover, simply wipe with a dry, clean cloth. Make sure the paper cover is thick enough to support the weight of any decorations or glue added to it. If you're afraid ink may seep through the paper and set into the Bible's surface over time, attach a piece of clean, flexible cardboard between the paper and the Bible.

Decorating a Paper Cover
The sky’s the limit when it comes to decorating a paper cover. Have the kids draw pictures of what they learned during Bible classes. Glue on buttons and sewn decorations using craft glue. Use stickers or write down your favorite inspirational quotes or poems with colored markers.

The great thing about using paper covers is that you can make several of them and switch to a different cover whenever you want. You can even make seasonal Bible covers such as an Easter cover and a Christmas cover.

Decorating a Leather Cover
Decorating a leather cover can be a little trickier. Sometimes markers can smear and glued decorations can fall off eventually. Your best option is to sew on decorations. Add a bit of lace and decorative yarn to the edges of the bag. You can even sew on a quilt cover that has sentimental value to you.

If you have an old quilt, lay your leather cover open on the material and trace out the pattern with fabric chalk. You'll want to have an extra inch to 2 inches of material along the top, bottom and sides.

Cut out the pattern. Lay the leather cover on the quilt and fold up the extra material along the edges as you pin it in place. Then sew on the quilt cover by hand or use your sewing machine.

Let Your Personality Shine On The Bible Cover
However you want to decorate the cover, always let your personality show. Let it tell people you're truly inspired by the verses and words found in your Bible. Let this become a family project everyone can enjoy. Whether you're adding a few decorations or changing the entire bible cover, having your entire family involved as you share inspirational moments and stories creates lasting memories for a lifetime.

Danielle, who blogs on behalf of Sears and other prestigious brands, enjoys spoiling her niece with homemade goodies. Danielle is particularly fond of needlepoint, working with pipe cleaners and the smell of a fresh box of crayons. Read her work at eatbreatheblog.com

One dollar Wednesday...Shamrock hair clip~ tutorial

Well, February was here and gone before I knew it! We're already a week into March, and I haven't done any St. Patrick's Day crafts. I thought I make up for that today, with my One Dollar Wednesday project.

I googled "shamrock hair clip" and found tons of examples, but this is all I needed to do my clips!


I started by covering my clip, with the polka-dot side of my ribbon not showing.


I put a tiny dot of glue on my ribbon, and pinched it together.


Then, I brought the ends together, overlapping them, and secured with a dot of hot glue. Then I trimmed the excess off the ends. I did this three times, making 3 hearts~~ or shamrock leaves.


With the two side leaves, I put a tiny bit of glue in the "v" of the leaf, and secured the center point.


I glued the "top" of my shamrock on the clip, and then "stacked" the side leaves on top of that. Then I secured the point of my top leaf with a dot of glue on the end of my clip.


I added a little "lucky" bling, and this is what I ended up with...

Upcycle old sweaters by felting them in the washing machine

Frugal crafters have found a new use for old garments to create a versatile fabric for hats, mittens, electronics cases and many other projects. Felting is the process of turning knitted wool fabric into a dense, solid piece that's easy to craft without the danger of edges unraveling. While you can felt any wool garment, the easiest method is to use sweaters found in thrift stores or your own dresser drawers. Turn wool sweaters in solid colors or intricate patterns into attractive felt pieces, using a simple method with your washing machine.

Things you'll need:

  • 100% wool sweaters
  • Sharp scissors
  • Old pillowcase
  • Washing machine and dryer
  • Laundry detergent

The process:

  1. Turn the sweater inside out. Cut off all the seams from the body of the sweater. Seams and other pieces will felt, but not at the same rate as basic knitted fabric. Felting is a process of shrinking, so uneven shrinking can result in unattractive felted fabric.

  1. Remove all the ribbing from around the bottom of the sweater, the end of the sleeves and around the neckline.

  1. Cut off any decorative pieces that may be on the sweater, such as appliqued flowers, stitched-on bows, buttons, zippers or pockets.

  1. Put all the pieces of knitted fabric into a pillowcase. If you want to experiment with felting the seam fabric and ribbing for decorative pieces, put them in the pillowcase along with the sweater fabric. Knot the pillowcase to keep all the pieces contained.

  1. Place the pillowcase in the washing machine. Add half the amount of detergent you would normally use for a load of laundry. Wash the pillowcase with sweater pieces on hot for the longest time setting available.

  1. Remove the pillowcase from the washer when the cycle is finished and inspect the fabric inside. If it is felted enough for your design plans, lay the fabric out flat and allow it to air dry. If you would like the fabric to felt further, making it tighter and thicker, place it back into the pillowcase, tie the case shut and place it in the dryer. Dry the fabric on a medium-heat setting.

  1. If your fabric is still not felted to your liking, repeat the entire washing and drying process to create super thick and sturdy felted fabric.

Many crafters felt their fabrics by simply washing them in the washing machine and drying them. While this method works perfectly well, the process of felting creates a large amount of lint which can clog up your washer hoses and dryer vents. Place the pieces into the pillowcase and the large clumps of lint will accumulate at the bottom of the case.

Use your new felted fabric to create applique flowers to decorate outerwear, to make hats and mittens or to craft soft and protective pouches for cellphones, eBook readers, MP3 players and other personal electronic gear. Felt is soft, tough and easy to work with. Attractive handmade felt may become your favorite new fabric for crafting!

Danielle, who blogs on behalf of Sears and other prestigious brands, appreciates a good wool sweater on a cold, winter afternoon- even more so when it’s one she’s made on her own. Read her work ateatbreathblog.com.

Easy cupcake flowers...TUTORIAL

Happy Valentine's Day! I hope everyone gets to spend lots of time with loved ones. I woke up this morning to gobs of CHOCOLATE, and a gift card to a nail salon...loving cute, pedicured toes for SUMMER. What a WONDERFUL husband I have!!!

I wanted to share this great idea, my mom shared with me, for putting flowers on cupcakes.

You start with mini marshmallows and a pair of scissors. (Please wash your scissors BEFORE and AFTER) Cut your marshmallows in half~ corner to corner.


Next,gently push the sticky end of the marshmallow onto some pretty, colored sugar.


This is how the marshies look, when covered with the sugar.


Arrange them in a "flower" pattern on a frosted cupcake...


and, lastly, add a gumdrop to the center.


This was super easy, and we decorated 30+ cupcakes in less than an hour.


What do you think? Will you give it a try?

One Dollar Wednesday... Valentine's Day Tree

I found this fun Valentine vase at the Dollar Store a couple weeks ago...

As soon as I saw it, I knew just what to do with it!


I gathered some old branches from my yard.


and sent them out to Spray Paint Place for a quick coat of white.


I arranged them in the little vase,


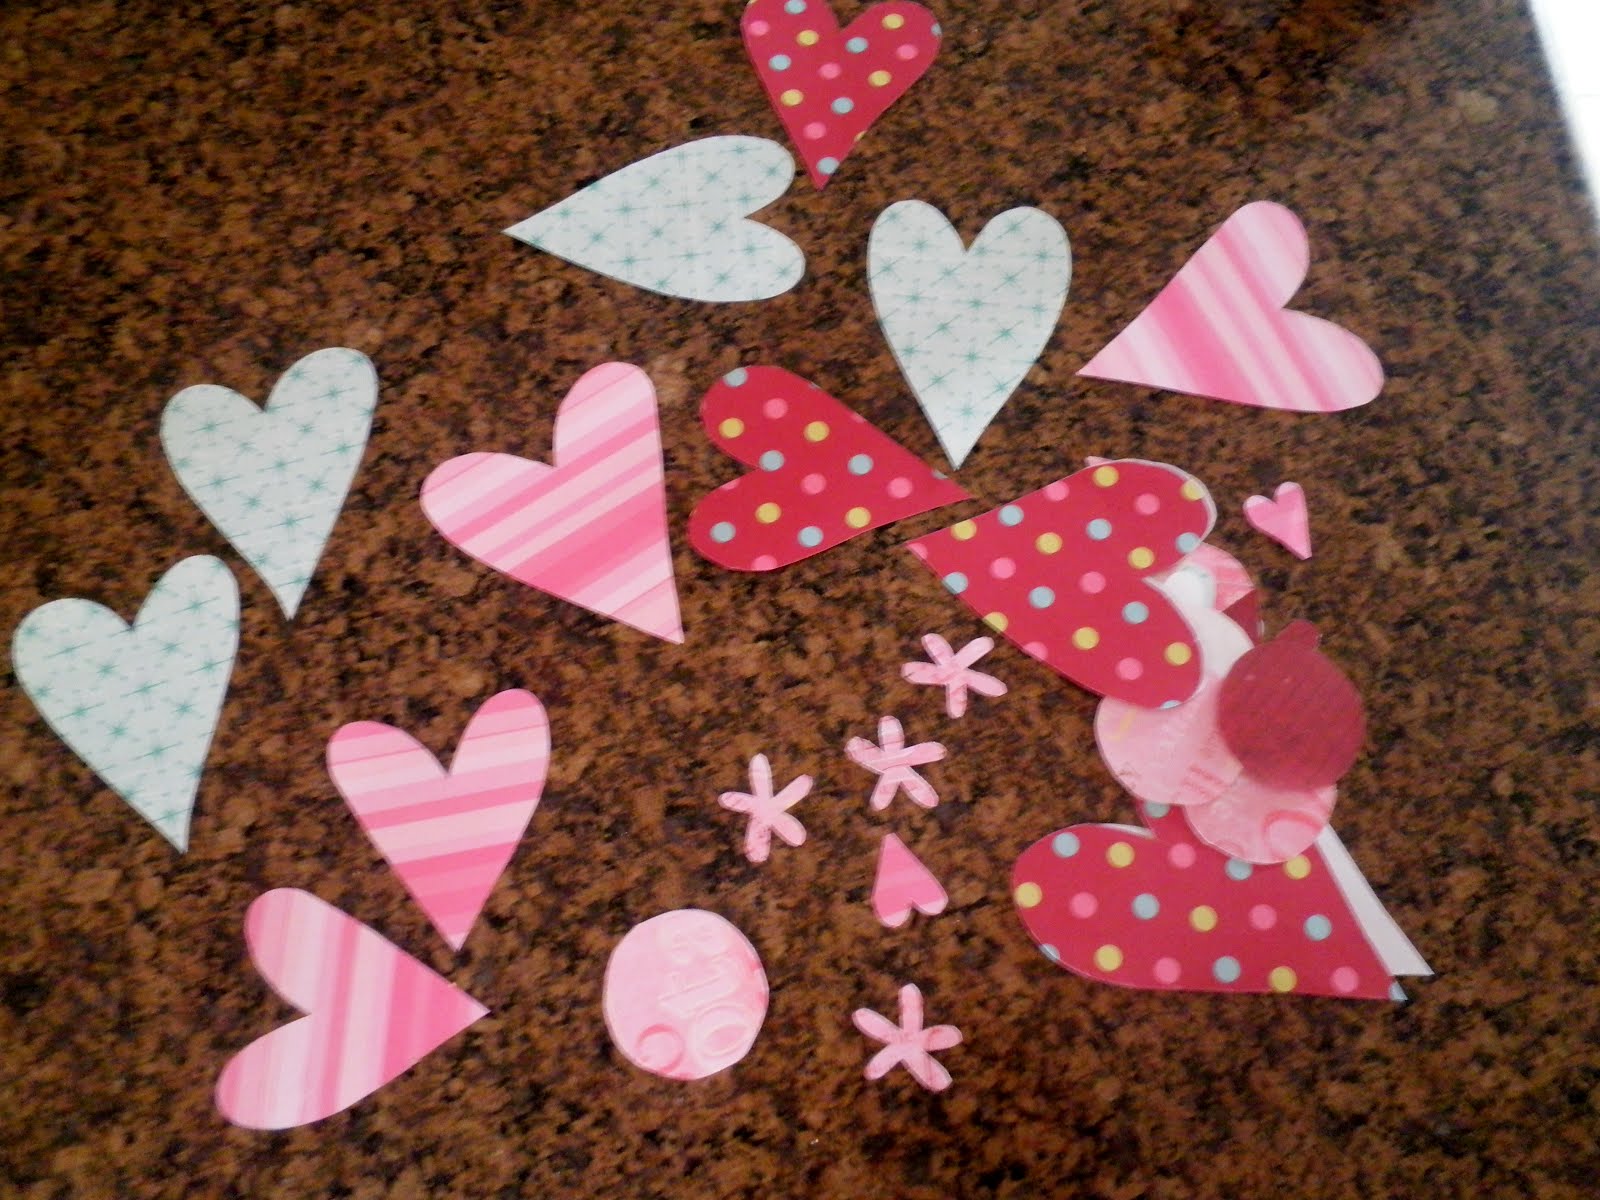
and cut out oodles of scrapbook paper hearts.


I used my large hearts as "ornaments" and sandwiched a piece of ribbon (also from the dollar store)between the layers.


I added my small hearts at random spots on the branches using my glue gun to attach them.


This is what I ended up with...(CLICK ON PICTURE TO ENLARGE)


I LOVE the whimsy it adds to this corner! (CLICK ON PICTURE TO ENLARGE)