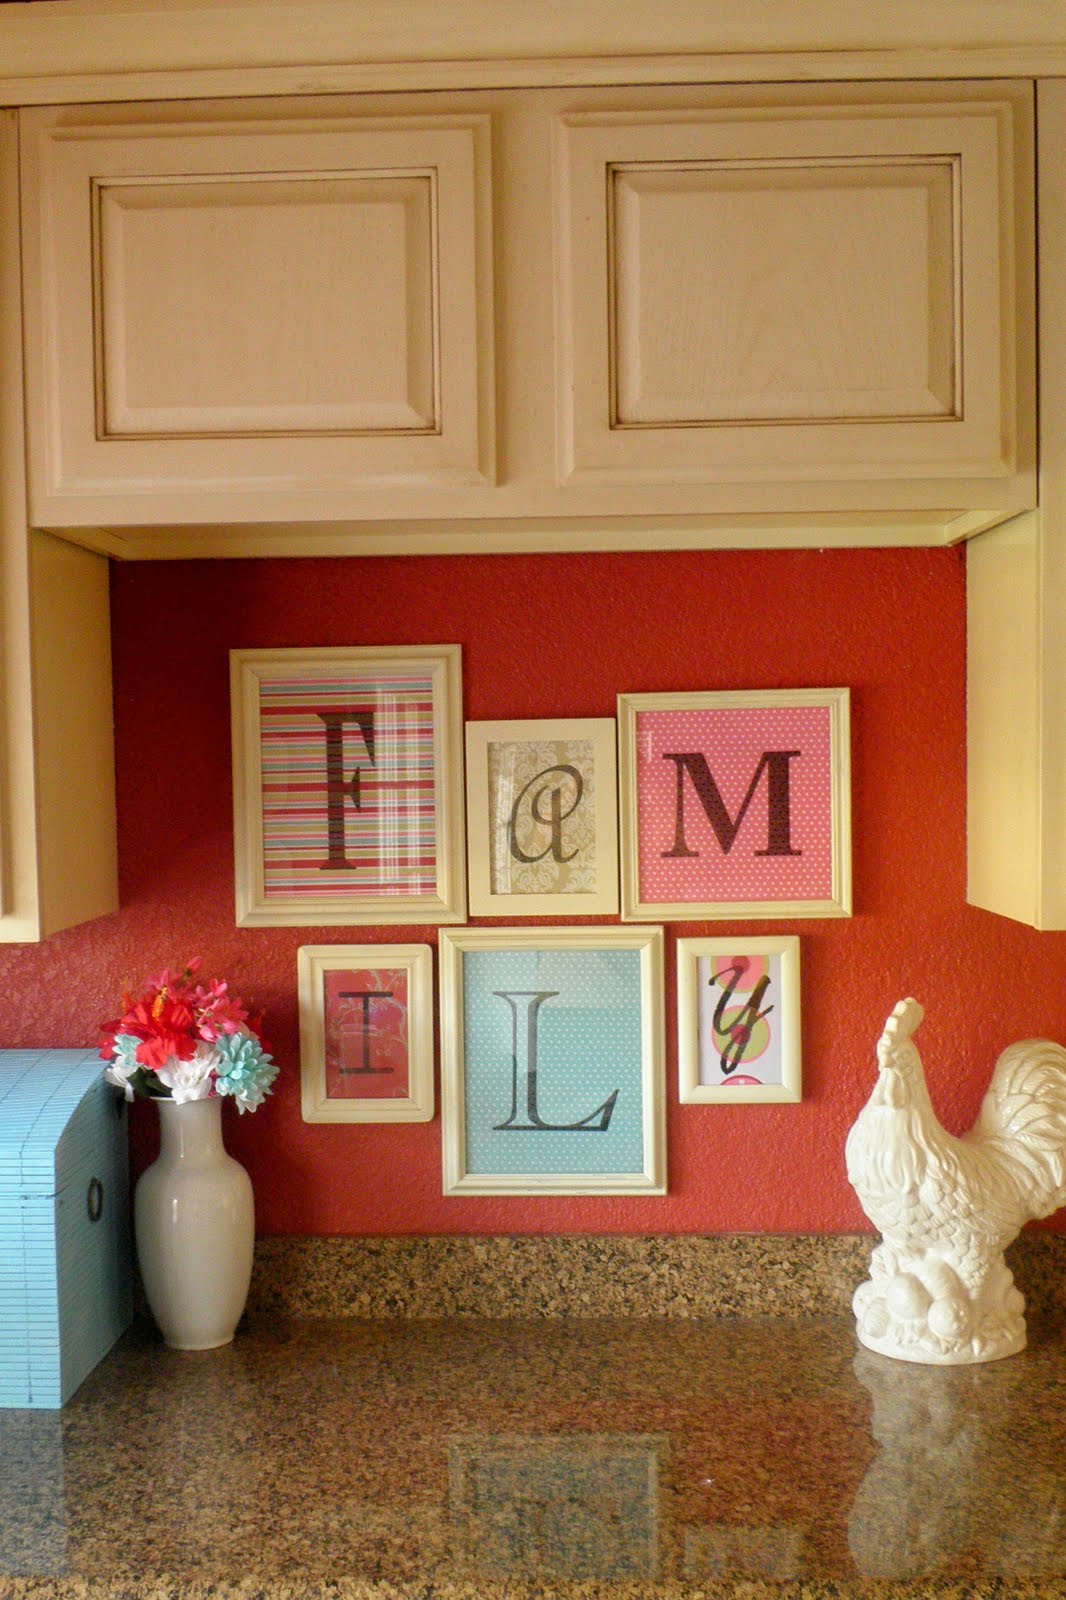
One Dollar Wednesday... it's all about FAMILY

I have said it before, and I'll say it again... I have a plethora of picture frames. Yes, they are random as can be. Different colors, different shapes, and different styles. For today's project, I'm focusing on some that I picked up recently at the dollar store/thrift stores.

See~~random...


but, a quick trip out to Spray Paint Place, and they're starting to look a bit more uniform!


I selected some fun scrapbook paper (from my VAST COLLECTION), and proceeded to print out the word FAMILY. Each letter, on it's own piece of paper, and in it's own FONT.


I framed them up lickety split...


and laid them out on the floor, as I wanted them on the wall.


Here's the final product...adding a little color to this quiet corner of my kitchen!


One Dollar Wednesday...after Christmas sales!

Wow~~it's great to be back after a LONG break! I think my last post was in April or May...wowzers. I had a wonderful Winter Break. I loved having my kiddos home with me.(I think 2 weeks is PERFECT...ask me again in the summer, when we can't spend any time outside, and I'll have a different answer for you.)

I have been busy trying to get all my Christmas stuff boxed up, but the "After Christmas" sales, keep pulling me away from my housework. See what I mean...This was taken just today :)


The problem is, I LOVE Christmas! I LOVE my Christmas decorations, and I hate boxing them away. I have made a wee bit of progress though, look at our bare tree... so sad!


Like I said, I have been enjoying the sales this month. I picked up 2 sets of this cute dinner wear for $1.00, which the kiddos can use through the end of the month. (Even though we don't get snow down here, this makes us feel a lil wintry)

Don't think I haven't indulged a bit for myself with Winter Clearance... I'm LOVING my new plush throw that I picked up for just $6.00. It has all the colors of my family room in it, and it's super cozy!


I love wrapping up in it while I'm reading this DARLING book... Vintage and Christmas two of my MOST favorite things~~Thanks Mom!


Have you gotten all of your Christmas boxed away? Any great sales still out there? Let me know, I love to hear from ya!

How to make a pool table out of cardboard

Image via Instructables

Children can get tired of toys pretty quickly--especially, dolls, which seem to need a never-ending kaleidoscope of accessories to remain interesting. It's prudent to begin making a few of these components yourself. You can craft an entire dollhouse yourself, but start with just a few objects then work your way up. Follow this guide to make a pool table that dolls and action figures alike would be proud to rack.

Using sharp scissors, cut two strips of poster board two inches wide and four inches long.

Working along the four-inch side, create a fold every inch. This will turn your flat sheets into two square columns. Secure with masking tape. These will be the legs of your pool table.

Cut another section of poster board into a three inch by six-inch piece. This rectangle will be your tabletop. Paint it green or apply green felt with craft glue.

With the tip of your scissors, carefully poke holes in each corner of the tabletop.

Cut out four one by one inch squares of nylon stocking. Flip the tabletop over and tape the stocking square over the holes in each corner. This will create the pool table "pockets."

Attach the tabletop to the legs with the stockings facing down.

With colored clay, roll out 15 balls of even size. They should be small enough to fit through the pocket holes. The balls should be baked at 275 degrees to harden. You could also paint marbles, but they will likely be too big to fit in the holes.

To create pool cues cut barbecue skewers into three-inch sections.

Glue three one-inch pieces of skewer into a triangle. This can be used to "rack" the balls.

Your billiard room set will be the envy of every doll in the playroom, rack 'em up!


Danielle, who blogs on behalf of Sears and other prestigious brands, enjoys spoiling her niece with homemade goodies. Danielle is particularly fond of needlepoint, working with pipe cleaners and the smell of a fresh box of crayons. Read her work at eatbreatheblog.com

Tidy Tips: Sealing Envelopes

I know we have said it before, but this poor blog has been neglected.  In my defense, I am pregnant and have been SOOO sick.  That brings me to my next point.  Because I have been sick and tired I am just now sending out my Christmas cards.  At least they will get there before Christmas!  Another thing with being pregnant is weird smells and tastes are out of the question, so there is NO WAY I was going to lick all those envelopes to seal them.  I got a little creative instead.

 No, I am not going to do my make up while sealing envelopes and this glass of water is not for drinking.  You take the make up brush, dip it in the water, and use it to seal your envelopes.


 Voila!  A nicely sealed envelope with minty fresh breath!
Happy Holidays!

Christmas Crafts

This poor little blog has been neglected lately, sad but true. Since we were much more on top of things last year, I thought I would link up some of our Christmas posts from last year.

It is only December 3rd, so you still have time for an advent calendar!!
Here is a cute gingerbread one....
Or the classic paper chain.
If you are needing some decor, here is quick and easy Christmas framed art.
Faux gingerbread cookies.
And snowman spoons. All of these crafts are super inexpensive, most using dollar store supplies.
If you need some neighbor gift ideas here are a few. Sand art brownies.
Homemade candied almonds.
Or, Have a "grate" Christmas!
Hopefully we will have more ideas to show soon!

Homemade Play Dough

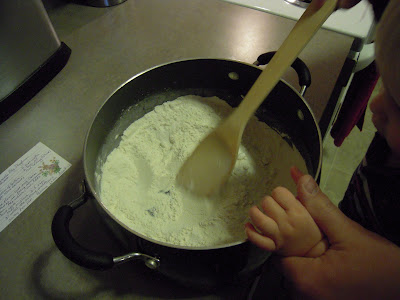
My husband took an internship this summer, and as amazing of an experience it has been, it has left us with no money. Since we are super broke this year, a lot of our friends and family will be getting handmade gifts. Play Dough is one that is fun to give cousins and it is just all around fun to make. My son really enjoyed the entire process, though when it came to actually playing with the play dough, he was a little confused. 19 months may be still a little young, oh well!


I found some fun Tupperware to put it in, I think a bow and a gift tag will make it extra cute. I am going to be using these gift tags this year, thanks Cierra!
Homemade Play Dough
(This recipe is from my sister, Shauna)
2 cups flour
1 cup salt
4 tsp cream of tartar
2 cups water
2 TBSP oil (I used Canola)
Food coloring (optional)
Spice for scent (optional also, I didn't use any, I really like the salty smell, I know I am a weirdo.)

Mix flour, salt, and cream of tartar in a heavy aluminum pan. Add water, oil, color, and spice.

Heat on the stove 3 to 5 minutes or until the mixture pulls away from the pan. Remove from heat and knead immediately or put it in a bread mixer to knead. (Personally, I love kneading it by hand, it is VERY warm, but I like it.)

Store in and airtight container in the refrigerator. It will keep for several months.

Are you doing hand made gifts this year? What are you making? I have another few ideas to make, hopefully I will get them done and posted soon!

Upcycling Wine Corks

Danielle from EatBreatheBlog is sharing tips of how reuse leftover wine corks. This is a great way to reuse them and a fun craft!


Put all Those Old Wine Corks to Good Use!

As the holidays approach, I certainly have gift giving on my mind. My goal is to make as many presents as I can this winter. One of my favorite DIY efforts is making crafts from leftover wine corks. After a friend made me some coasters using small squares of corkboard and Scrabble tiles, I was inspired to make my own set using wine corks that had just been collecting in a jar in my kitchen. The project worked out so well that I looked for other projects I could work on. Here are a few of my favorites.

Coasters/trivets

The best thing about making your own wine-cork coasters or trivets is that you can make the dimensions as big or small as you'd like. It's probably a good idea to have at least 25 corks on hand for trivets (around 10 for coasters). Arrange corks however you'd like – try a border of corks with the others arranged horizontally and vertically within. Glue to the base of your choice using wood glue. Another idea is to stand the corks up inside a frame that can be bought at craft store. It's important to remember that finished trivets and coasters have to be level so that hot pans and glassware don't topple over as soon as you set them down.

Jewelry box

Adorning a jewelry box with wine corks was quite simple and can be modified to fit any design I have in mind. I first put together a 'bare box' by hot gluing undecorated and halved wine corks onto the lid of an unfinished wooden box. I'd like to make the same craft using corks that have been cut in half lengthwise. I find X-Acto knives to be good for working with wine corks. They're sharp enough to precisely trim away cork bits and make things level. I next want to make a jewelry box with painted corks that have been sectioned into disks. I'm envisioning a celestial theme that will play off the lavender and deeper purple wine stains on the corks.

Bulletin board

A project that is both fun and useful, a wine cork bulletin board can go anywhere in your home. I've made a couple for friends, one who keeps his board in the kitchen for pinning up a grocery list. Another has hers up in her craft room and uses it as an inspiration board. You'll need a base like plywood, which should be cut to fit whatever project you have in mind. For instance, I used a 24" x 36" piece of board for the inspiration board. (Yes, there were a LOT of corks involved.) I picked up wire and picture hooks at a craft store and attached them before beginning the project. I glued the corks down and let the project dry for a full 48 hours – longer than the directions indicated, but I wanted to make sure the glue was thoroughly dry.

Ideas for wine cork crafts don't have to end there, but those are the projects I've worked on so far. Now I'm keeping an eye out for more ideas by watching home design shows. Upcycling is a great way to make crafts, allowing me to make presents from items that have just been hanging around my home.


Photo source: http://www.flickr.com/photos/lollyknit/2425801440/

“Wine Cork Trivet” By LollyKnit


Thanks for sharing Danielle! Don't forget to check out her blog,EatBreatheBlog. Lots of great information on health, wellness, and life.

Would you like to do a guest post on A lil bird? We would love to have you feature a project, your blog, or anything that strikes your fancy. Email us at bagsnrags3 (at) gmail (dot) com, we look forward to hearing from you!