I wish I could say these eggs were ones I made, but alas, they are Martha's. She never ceases to amaze me with all of her talent. Though I may not be able to decorate them as cute as Martha, I do have a fool proof method for hard boiling eggs, for the perfect yoke and easy peeling. Before this I used to guess how long to boil the eggs, then some times I would end up with that yucky gray ring around the yolks. The other tricky thing was trying to figure out the perfect way to peel them without breaking the whites. You especially want them to be pretty if you are making deviled eggs, at least I do. I found this "recipe" in my favorite family recipe book (next to my Mom's of course), you may remember that is where I got my pizza dough recipe from. This method is the best, I have had lots of perfectly cooked hard boiled eggs since trying it. Also, a trick, before you peel your eggs, roll them on the counter, I have found this helps a lot with the peeling as well.
Perfect Hard Boiled Eggs
Cover the eggs with cold water, bring to a boil, cook 2 to 3 minutes, then turn heat off and let sit for about 20 minutes. Put in cold water, then store in the fridge.
-I have also found if you roll them around in your saucepan a few times before the water reaches a boil, it will put the yokes in a good place.
On another note, I am 95% done with all my birthday party projects. I have to make a couple things today, then the rest will be done when I get back from the Easter holiday. Here is one of the projects that got finished up this week......
 My dot garland. I love it. I found this cute idea over at the Purl Bee. This garland was perfect for me for a couple reasons. First, EASY project for a non sewer like myself, you sew a line down the middle of the dots with invisible thread. So even if you can't sew in a straight line, which I can't, no one will know, because the thread is invisible. woo woo! Second, it is great because it is super cheap! My budget for this extravaganza is super small, so using some felt I already had, and invisible thread, dirt cheap. I even ended up buying 2 sheets of felt, it cost me a whopping $.50.
 My dot garland. I love it. I found this cute idea over at the Purl Bee. This garland was perfect for me for a couple reasons. First, EASY project for a non sewer like myself, you sew a line down the middle of the dots with invisible thread. So even if you can't sew in a straight line, which I can't, no one will know, because the thread is invisible. woo woo! Second, it is great because it is super cheap! My budget for this extravaganza is super small, so using some felt I already had, and invisible thread, dirt cheap. I even ended up buying 2 sheets of felt, it cost me a whopping $.50.
Have I told you my theme for my son's birthday? I can't remember if I have or if I am keeping it a secret. Any guesses with the color scheme from the garland?
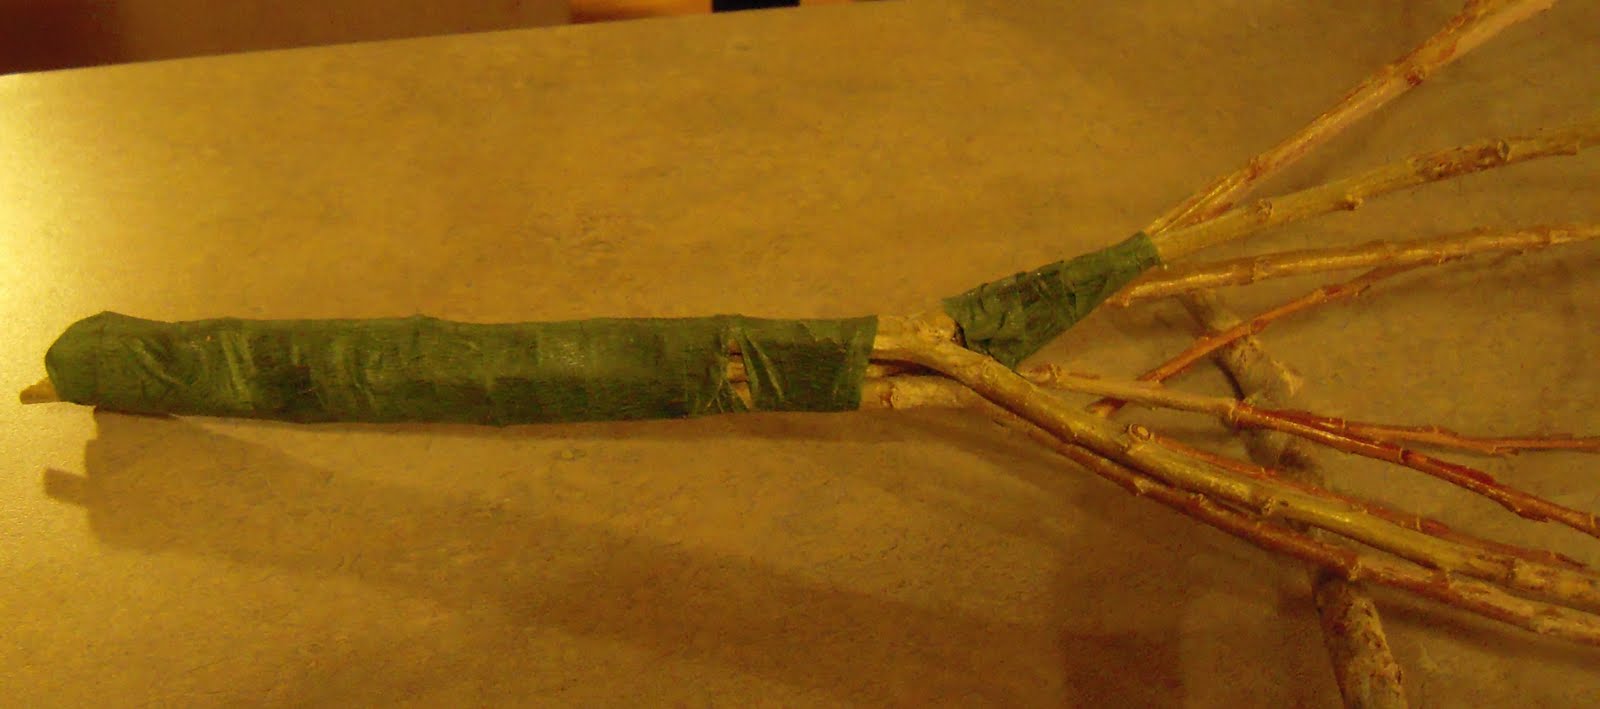
 A little brown spray paint and some ribbon and this is what I got....