The supplies I used:
A cake stand (I just got this one for $2 at my local bakery supply store)
ONE- 15 ounce bottle of baby lotion
ONE- 3.5 ounce bottle of baby shampoo
80- Diapers
80- Rubber Bands
Ribbon
6 skewers
Embellishments/gifts
First, roll all your diapers. I flip them over and roll from bum to top, I like use the cute characters for color, if you prefer white, or are going to completely cover your layers with ribbon, it won't matter how you roll them.
 Tie your rubber band around each diaper. I tie all mine in the same spot, so it is easier to cover them with ribbon. I use the size as my marker for consistency.
 Once all of your diapers are rolled, you can start building your first layer. I placed the baby lotion in the center of the cake stand and then place diapers around it. I used 45 diapers for my bottom layer. Once I had all the diapers placed, I tied a small blue ribbon around them to keep them stable and in place.
 I then built my second layer the same way around the top of the baby lotion bottle. Once I had both layers built and placed, I CAREFULLY secured the layers together using a skewer. I gently placed the skewer's blunt end through both layers, then clipped off the excess.
 You can get as creative with your cake as you'd like, putting in extra surprises throughout it. I found this tiny tee that I know my brother will be super stoked about, so I decided to put it inside the cake.
 I wrapped it around the baby lotion bottle, then placed my baby shampoo bottle inside it for my final layer.
 I added my final layer and put in another skewer. I then covered the rubber bands with a larger ribbon.
 I added a couple cute rubber duckies and a fun letter "E" as finishing touches on my cake. The letter "E" was white and I spray painted it a dark gray to go with the nursery theme (it almost looks brown in this photo, again my HORRID photography skills). If you want you can get fabric or ribbon and cover the diaper layers completely to make it look more like a real cake. Personally, I like the fun color the characters add. I hope my SIL like it!
 Stay tuned next week for the details of the shower, hopefully I can get some decent photos, but we are having it at night, so I may be doomed!
 Tie your rubber band around each diaper. I tie all mine in the same spot, so it is easier to cover them with ribbon. I use the size as my marker for consistency.
 Once all of your diapers are rolled, you can start building your first layer. I placed the baby lotion in the center of the cake stand and then place diapers around it. I used 45 diapers for my bottom layer. Once I had all the diapers placed, I tied a small blue ribbon around them to keep them stable and in place.
 I then built my second layer the same way around the top of the baby lotion bottle. Once I had both layers built and placed, I CAREFULLY secured the layers together using a skewer. I gently placed the skewer's blunt end through both layers, then clipped off the excess.
  You can get as creative with your cake as you'd like, putting in extra surprises throughout it. I found this tiny tee that I know my brother will be super stoked about, so I decided to put it inside the cake.
 I wrapped it around the baby lotion bottle, then placed my baby shampoo bottle inside it for my final layer.
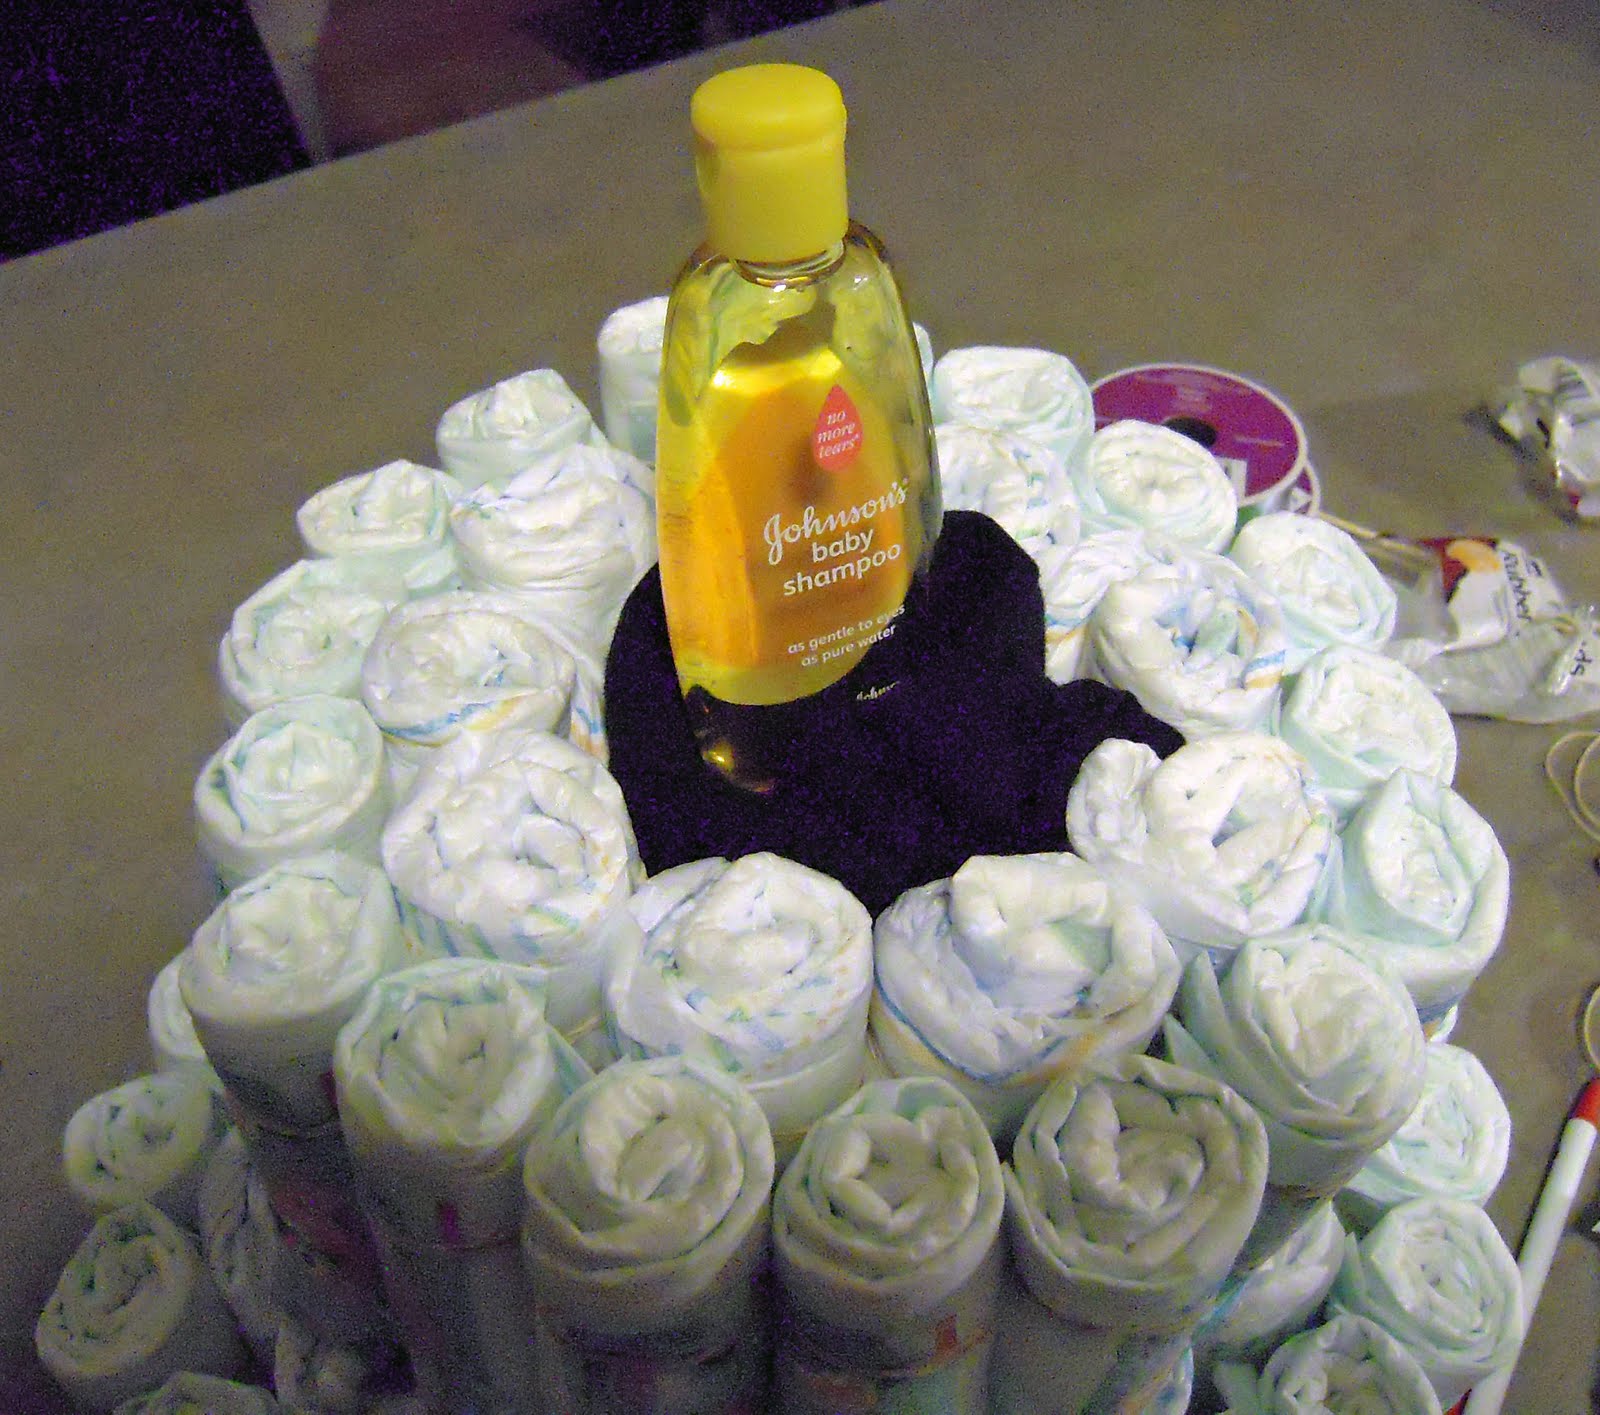 I added my final layer and put in another skewer. I then covered the rubber bands with a larger ribbon.
 I added a couple cute rubber duckies and a fun letter "E" as finishing touches on my cake. The letter "E" was white and I spray painted it a dark gray to go with the nursery theme (it almost looks brown in this photo, again my HORRID photography skills). If you want you can get fabric or ribbon and cover the diaper layers completely to make it look more like a real cake. Personally, I like the fun color the characters add. I hope my SIL like it!
 Stay tuned next week for the details of the shower, hopefully I can get some decent photos, but we are having it at night, so I may be doomed!