Just thinking about this post is making my mouth water, the food at the shower was so good! We were presented with somewhat of a challenge when we first put together our menu because the guest of honor has gestational diabetes. Not only did we have to think sugar free, but one key point to focus on was making sure there was a good carb to protein balance. Thankfully, my sister in law who helped me prepare the menu (she also graciously let me use her house to host the shower) had some great ideas to make the menu diabetic friendly, while still making it DELICIOUS!
My sister in law made scones that were to die for! She made cranberry pecan scones and served them with orange honey butter, and plain scones and served them with home made raspberry jam, are you hungry yet?? Here they are in all their glory...

We also served crust-less mini quiches, avocado dip with veggies, tea sandwiches, and sugar free hot chocolate. I have never made quiche before, but since we were trying to minimize carbs, I found this crust-less recipe that was SO SIMPLE. They were so fun to make and so delish---I think I am going to have to make them as a Christmas Morning tradition, I think they would be lots of fun!


For dessert my sister in law pulled out all the stops for 2 amazing SUGAR FREE cakes. You would've never known they were sugar free, they were heavenly. She did a poke cake with a sugar free cake mix, sugar free jello, sugar free pie toppings, and sugar free whipped cream. I didn't get a picture of the finished product, but here it is ready for topping...

She also made a sugar free pecan pudding cake....YUM.

For the favors I didn't go the sugar free route, but I told my sweet SIL and Mom to be to save this one a couple weeks until after the babe is born. I used my
mustache sucker molds to make the fun suckers. I bought some Guittard melting chocolate, and had all the rest of the supplies I needed on hand.
At first I didn't know the best method to melt my chocolate. I tried putting it in one of my glass measuring cups and then melting it on defrost, stirring after every minute. This was a giant PAIN. Then my light bulb clicked and I remembered I have a double boiler for just such an occasion. SO EASY. I suggest that method whenever you are melting chocolate. I just melted the chocolate, poured it into the molds, set them in the freezer for 5 minutes, and they set right up. I think they turned out perfect!

I put them in some cello bags, tied them with baker's twine, and added a tag I made with Photoshop and my Silhouette.

I love how they turned out! Thursday I will wrap up my baby shower posts with the games we played at the shower, they were so fun, stay tuned!
Here are the links to the recipes I used as well as the recipe for the tea sandwiches:
Tea Sandwiches
6 oz cream cheese at room temp
1/4 cup roasted red peppers
Juice from 1 lemon
Cucumbers sliced very thin
Combine cream cheese, peppers, and lemon juice in a food processor. Apply a thin layer to each slice of the bread of your choice (I used pumpernickel, the flavors goes well together). Add cucumbers to one slice of the bread.
I wanted to cut them into the shape of baby onesies, but my slices were too small. Oh well!
 I also made this yummy punch. I got the recipe from Pinterest of course!
 I was also in charge of the favors. Ever since I did this post, I have been dying to make some lips! I thought they would work for favors since it was a baby shower for a girl! They were a piece of cake, my Silhouette did all the work, I slid in the suckers and they were done.
 Here is one close up, I will totally be using these as Valentine's some day.
 I also found some cinnamon lips to go with the favors.
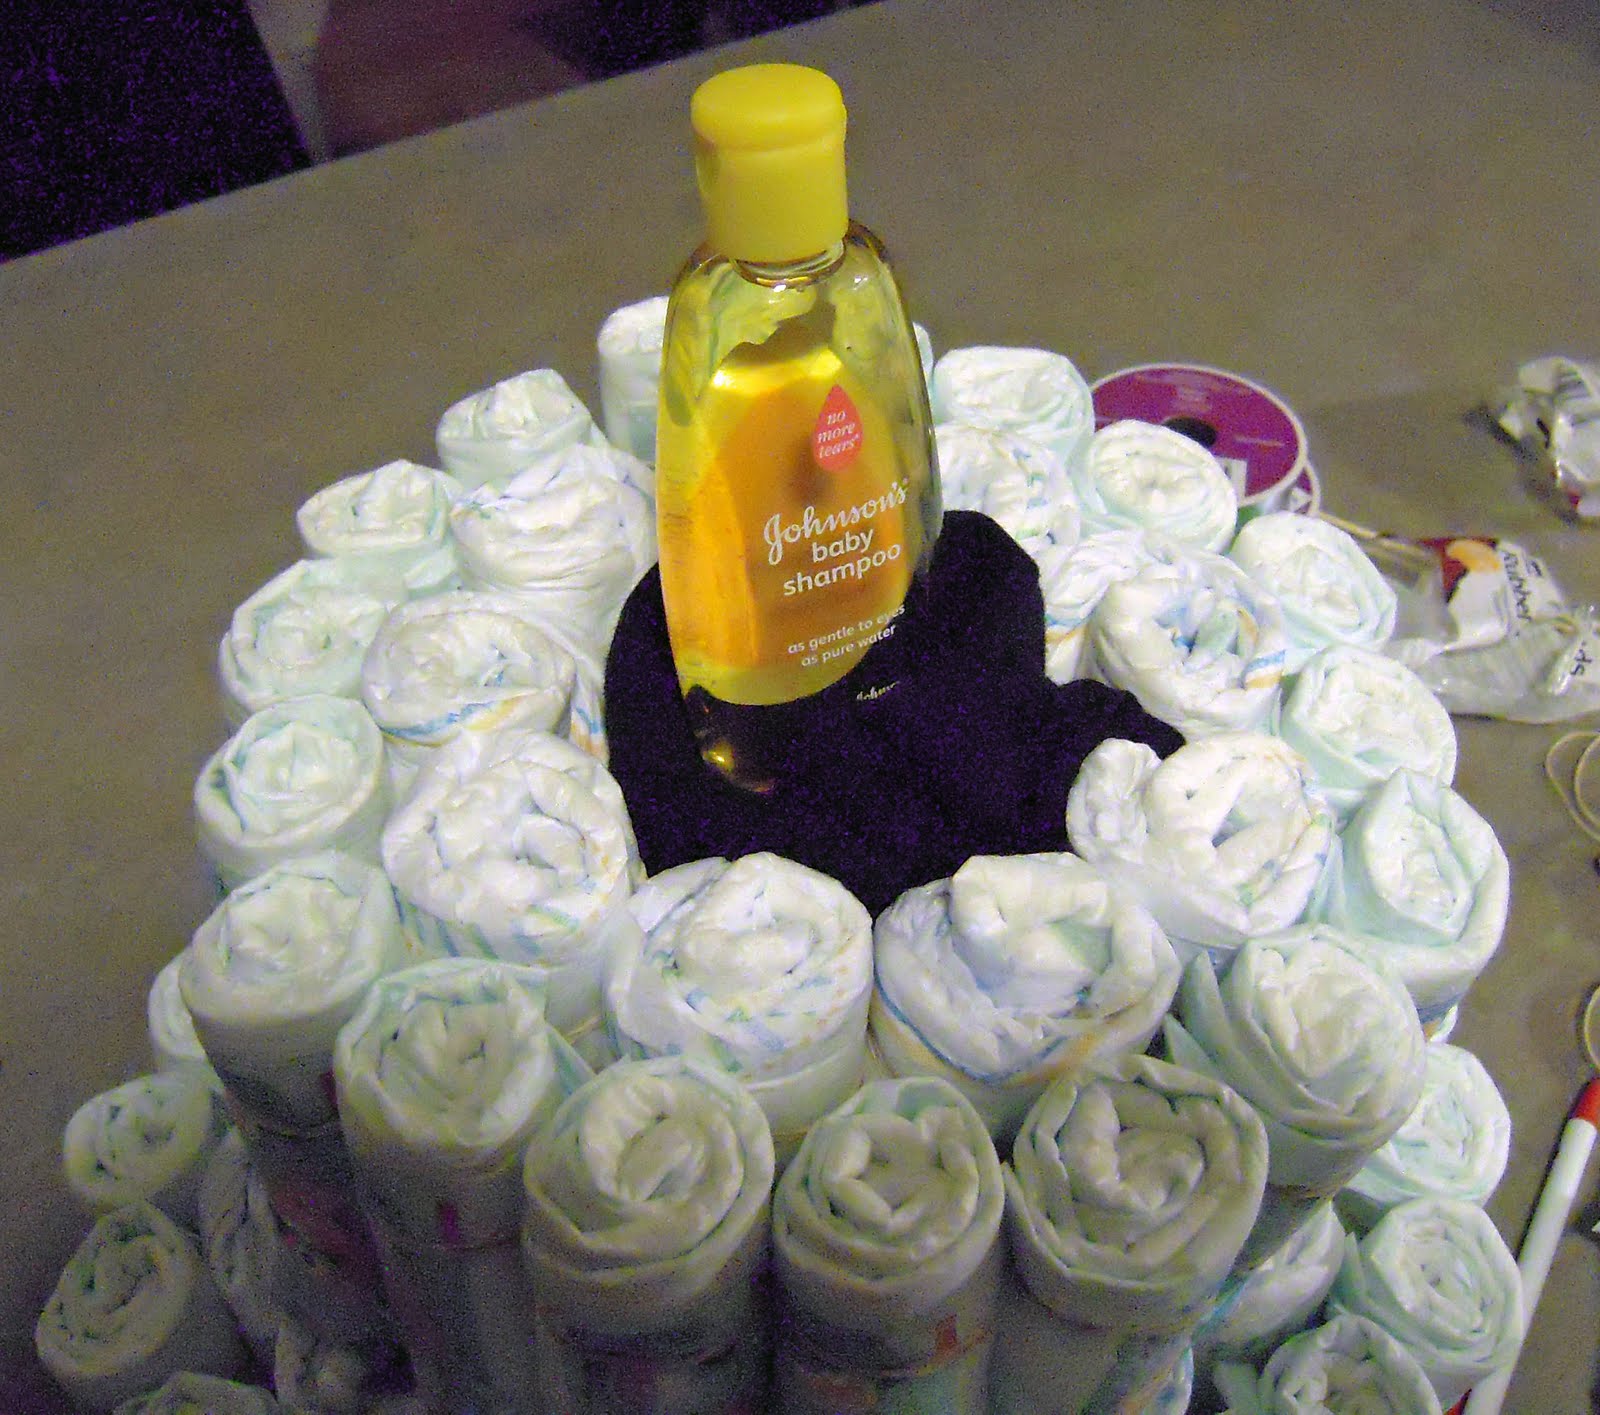
 I made the Mom to be a small diaper cake, the flower is actually a headband for the sweet babe. I didn't use all the diapers, so I tied a ribbon around the rest.
 It was a fun summer night to enjoy my neighbors, can't wait to meet the little lady in a few weeks!